
create-arcade User Guide
A CLI tool for scaffolding a BabylonJS game project built on the
@babylonjsmarket/ecs framework and the @babylonjsmarket/arcade component
library. Similar to create-react-app, but for 3D game development.
There is no template menu. Every scaffold produces the same starting point — a data-driven multigame arcade. You grow it by authoring scenes and by pulling ready-made components into your project (see Adding components).
Installation
No installation required. Run directly with your package manager:
Quick Start
Your game opens at http://localhost:3000.
Interactive Mode
Run without a directory argument for guided setup:
You'll be prompted for:
- Project name — directory name for your project.
- Package name — npm package name (only asked when the project name isn't a valid package name; otherwise auto-derived).
That's the whole prompt flow — there is no framework/template question. Example session:
Command Line Options
Specify Project Name
Create in Current Directory
Overwrite Existing Directory
Show Help
Output:
The Default Scaffold
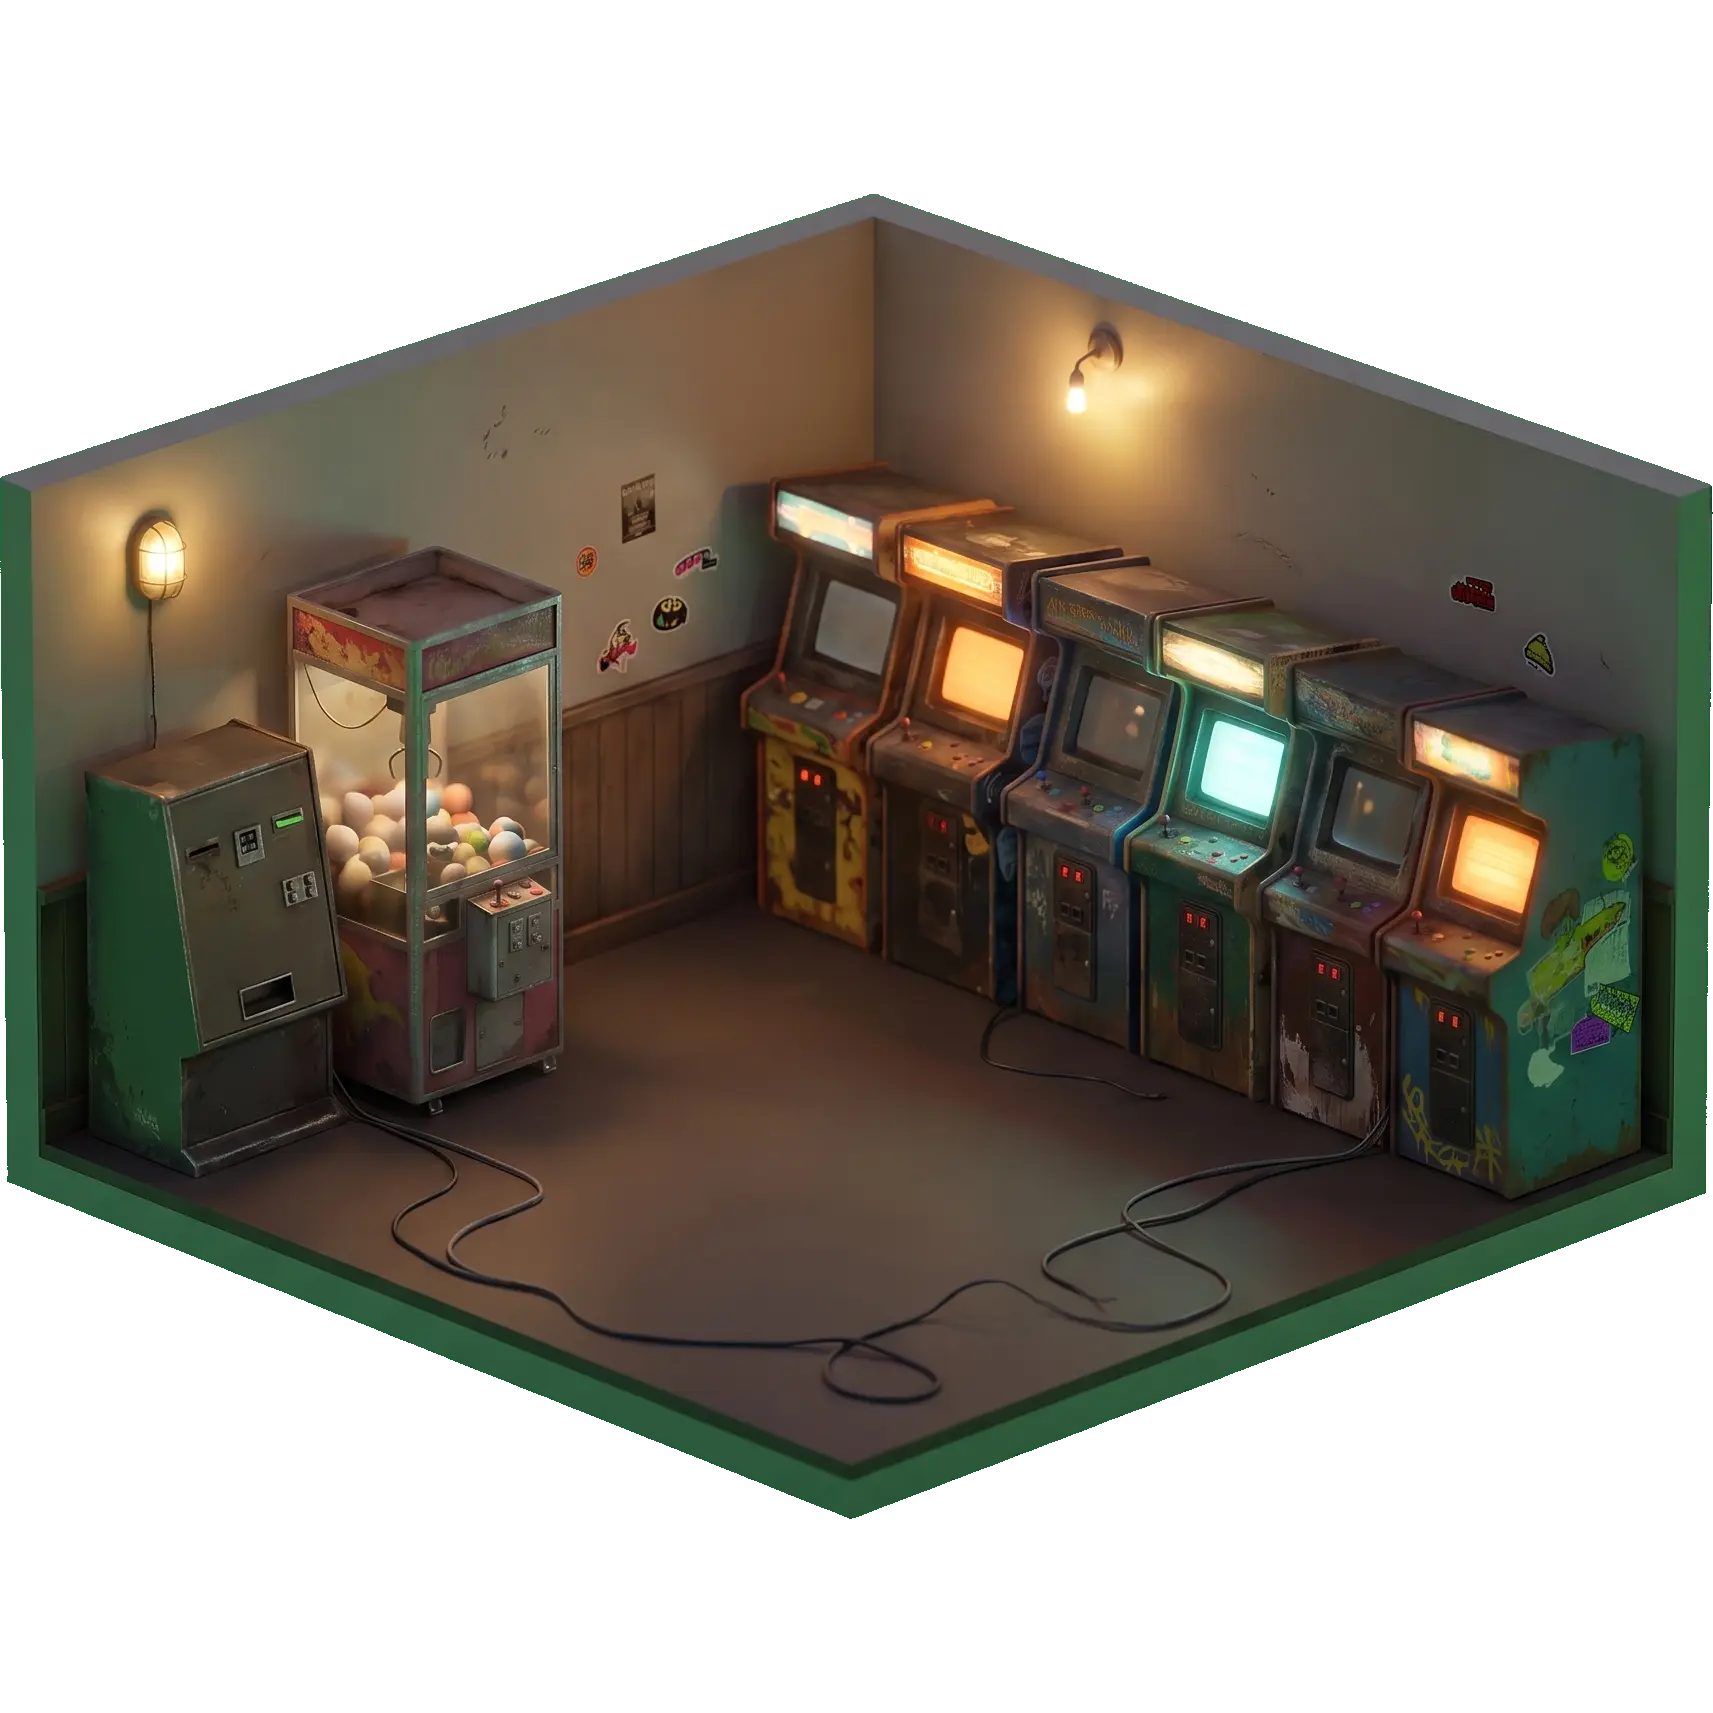
Every project starts as a multigame arcade: a carpeted room with a row of
cabinets that you grow into a full arcade. Scenes are TypeScript modules that
declare entities and their components by name (pure data); arcade lazy-imports
each named component the first time it appears. Each cabinet can point a player
at another scene (a subdirectory game) registered in src/scenes/index.ts.
The starter room streams its carpet textures and cabinet model from the public BabylonJS Games asset host, so a fresh scaffold runs with no local assets.
Project Structure
After scaffolding, your project contains:
.claude/skills/babylonjsmarket/ is dropped in automatically so Claude Code
discovers the framework skill in your project with no plugin install.
How It Works
src/main.ts boots the renderer through the BabylonAdapter, mounts the viz
panels (press ` for the Entities panel, F4 for the EventBus debugger),
then calls game.loadScene(...) with the default scene — that's it.
Everything else — meshes, lights, cameras, gameplay logic — is declared in the scene modules as entities plus named components. The arcade package's default registry maps every named component to its module; bundlers tree-shake any component a scene doesn't use.
For the component / system / world / scene-JSON API itself, see the ECS Framework and Arcade Foundations guides — those are the source of truth for the framework surface.
Filling the Arcade
Each cabinet is meant to launch its own game. To add one:
- Author a scene under
src/scenes/<my-game>.ts(copyarcade-room.ts). - Import it in
src/scenes/index.tsand add it under a new key. - Switch to it at runtime —
game.loadScene(SCENES['<my-game>'])— e.g. when the player activates the matching cabinet.
To add a custom component, drop a file under src/components/MyThing.ts
exporting MyThingComponent (and optionally MyThingSystem), then add
MyThing: () => import('./components/MyThing') to the resolver map in
src/registry.ts.
Adding Components (the download flow)
You don't pick a template up front — you pull in code on demand. There are
two sources, and both land the same way: real source files in
src/components/<Name>/ that you own and can edit, wired into src/registry.ts
so your local copy overrides the package's built-in one.
1. The bundled arcade library — arcade eject
@babylonjsmarket/arcade ships a free component library (bullets, enemies,
spawners, cameras, pinball pieces, money fields, …). arcade eject copies any
of them — plus their dependencies — into your project, shadcn-style:
2. The BabylonJS Market — download more components
The marketplace at babylonjsmarket.com carries
additional components beyond the bundled set. Some are free, some are
paid; once a component is in your account you download it and drop it into
src/components/<Name>/ exactly like an ejected one, then register it in
src/registry.ts.
Either way, there's one default project and you grow it by downloading the pieces you actually need — instead of committing to a fixed template at creation time.
Development Workflow
Start Dev Server
Build for Production
Preview Production Build
Lint
Package Manager Support
npm
Yarn
pnpm
Bun
Troubleshooting
"Directory is not empty"
Choose one of:
- Cancel operation — stop and clear the directory yourself.
- Remove existing files and continue — clear and scaffold.
- Ignore files and continue — merge with the existing files.
Or skip the prompt with --overwrite:
Port 3000 in Use
Edit vite.config.js:
arcade eject can't find components
Run it inside a project that has @babylonjsmarket/arcade installed (the
package ships the component source it copies from). If it can't auto-detect what
your project uses, name the components explicitly or pass --all.
Where to Go Next
- ECS Framework (
@babylonjsmarket/ecs) — the runtime under everything this scaffold generates: entities, components, systems, the World, the EventBus. - Arcade Foundations (
@babylonjsmarket/arcade) — the component libraryarcade ejectcopies from, plus the lazy JSON scene loader. - CLI (
bjs) — download marketplace components and assets straight into the project you just scaffolded.